Table Of Content
How to Do Acrylic Nails Step by Step: Your Ultimate Tutorial
If you're aiming to save some bucks on salon visits or simply want to relish the self-care routine of tending to your nails, delving into the art of DIY acrylic nails is a valuable skill to acquire. Despite the initial intimidation caused by the chemistry-laden ingredients and concerns about fumes, mastering the technique is surprisingly manageable. In fact, you might discover that gliding acrylic from cuticle to tip provides one of the most soothing ASMR experiences.
In my early days of learning how to perfect the art of DIY acrylic nails, YouTube became my go-to resource. The abundance of real-time videos allowed me to follow along with people doing their own nails. I highly recommend starting there, as you can take advantage of numerous free tutorials. Once you grasp the fundamentals of utilizing your nail tools and products, nail preparation, and the proper structure, it's all about honing your skills through practice to boost your confidence and the quality of your work. You've got this! Remember, practice makes progress.
Acrylic Nails Step by Step Guide
Given that the process of doing your acrylic nails is undoubtedly intricate, we've enlisted the help of experts to guide us through each step. Ahead, you'll discover detailed instructions to successfully execute the process of DIY acrylic nails at home.
Use Acrylic Nail Kit
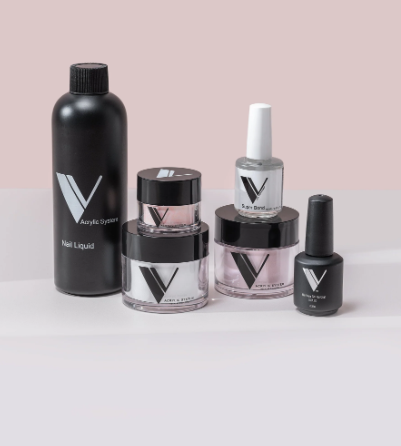
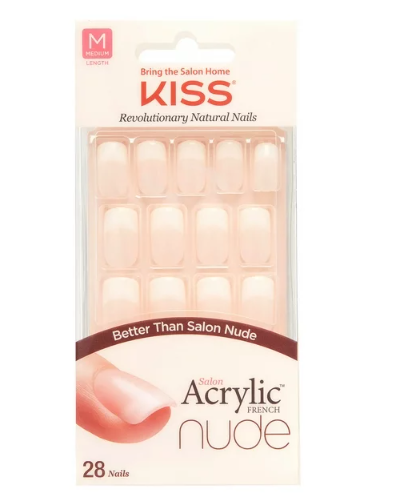
If you're venturing into the world of DIY acrylic nails for the first time, the smart move is to kick things off with an all-inclusive kit. The V Beauty Pure Beginner Kit stands out as an excellent starting point, providing three acrylic powder shades, monomer, top coat, primer, and detailed instructions. When selecting an acrylic kit, steer clear of tips made with MMA (methyl methacrylate), known for being tough, inflexible, and potentially causing adverse reactions, which could spell trouble for your nail beds. Opt instead for EMA (ethyl methacrylate), a recognized safer alternative.
Prep Your Nails
Begin the process by preparing your nails just as you would for any manicure. Remove any existing nail polish, ensuring thorough soaking if you have gels to avoid unnecessary damage.
Afterward, gently push back your cuticles without resorting to cutting them. Once your nails are polish-free and cuticles neatly pushed back, trim your nails slightly beyond the smile line—the end of your nail. Keeping your nails short is crucial, as the acrylic tips will attach to them, and attempting to attach them to long nails could risk snapping off your natural nails and the attached acrylic.
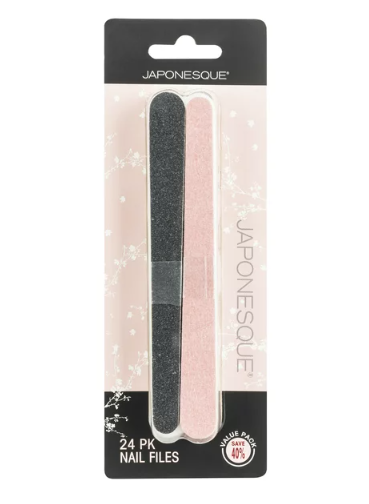
Following the trim, file your nails for evenness and to eliminate any snags. Then, buff each nail to provide a suitable surface for the acrylic tips to grip onto.
Measure Your Nails & Apply Acrylic Nails
Your chosen kit will likely offer various acrylic tip sizes, widths, and lengths, similar to options for press-on nails. Take the time to select the sizes that best match your natural tips. If needed, use a nail file to gently adjust the width for a perfect fit. Acrylic tips used for application typically have an indent on the inside—approximately 2-3 mm at most—and the free edge of your natural nail should snugly fit underneath. Trim your natural nails short before application.
Once you've chosen your acrylic tips, apply them individually with a dot of acrylic nail glue. Position the bottom edge of the acrylic tip about one-third of the way down your nail to ensure stability as your nails grow. Apply pressure for five to 10 seconds to secure it, and repeat the process until all 10 tips are in place.
Apply Nail Primer
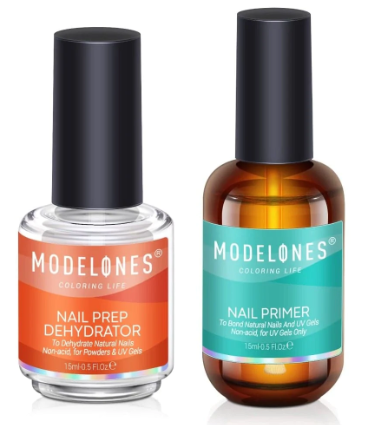
After fine-tuning your tips to perfection, ensure all your acrylic kit materials are within arm's reach. Whether you're using a comprehensive kit or individual supplies, pour the liquid acrylic into the acrylic dish. Take note that acrylic emits potent fumes, so crack open a window during this DIY session.
With your setup in order, breathe life into your acrylic manicure. Begin by dehydrating your natural nails to eliminate any moisture that might hinder the acrylic mixture's adhesion. Prime your entire nails, starting just beyond the cuticle and extending to the acrylic tips. The Modelones Nail Prep Dehydrator & Nail Primer set, priced at $13, simplifies this step, ensuring optimal adherence of the acrylic mixture.
Coat With Acrylic Mixture
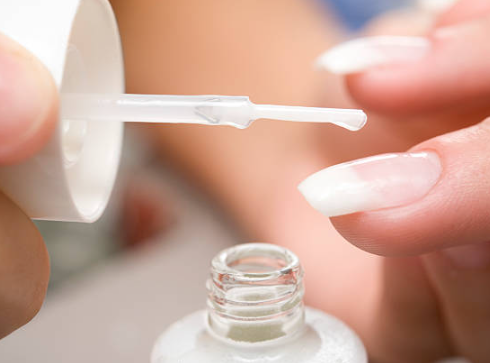
Dip your acrylic brush into the monomer-filled bowl, tap it on the side to prevent oversaturation, and then dip it into the clear powder. This process yields the perfect acrylic bead, free from drips or dry patches. Apply the bead just above your cuticle, extending it to the tip of your acrylic. Ensure a smooth application by reaching the edges of your nails, wiping the brush on a paper towel between strokes to prevent clumping.
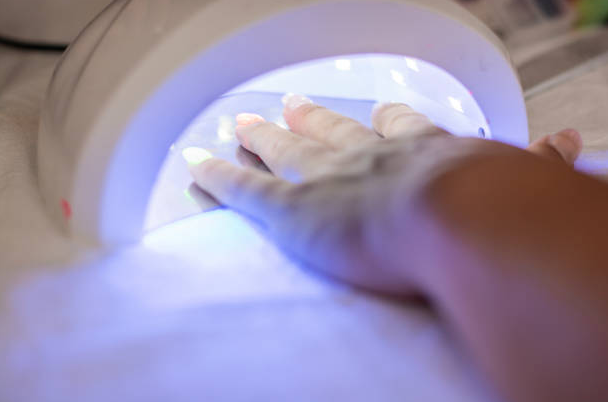
Let the Acrylic Nails Dry
Remember, acrylic is sensitive to temperature. My hard-earned lesson is that room temperature significantly affects the application process. Cold environments slow down bead setting, while warmer ones speed it up. I prefer maintaining a room temperature between 68-72°F. As you embark on your DIY nail journey, opt for a cooler space initially to perfect the acrylic before it dries, which should take around 10 minutes. If it's too chilly, use a heater to expedite the setting process. To confirm dryness, gently tap the acrylics; a clicking sound indicates readiness.
Finish With Shaping

Once your acrylic is applied and dried, it's time for the finishing touches. Since you've already shaped your preferred form, use a file along the edges and tip for a flawless, picture-perfect acrylic nail look.
Wrap Up
So, now that you are aware of how to apply acrylic nails step by step, you must be thinking why have I wasted my energy visiting salons every now and then just for doing something that I can do at home with ease. Acrylic nails step by step guide is here for you to save you time, energy, and a lot of money to spend in a salon so opt for these steps and try it yourself for a smooth process.
Author

Bianca Meadows
Bianca Meadows, the seasoned beauty expert, brings her extensive writing experience to our website. With a flair for captivating storytelling and deep knowledge of skincare, makeup, and haircare, her concise yet informative articles empower readers to enhance their beauty routines.
Top 10 Travеling Tips for Pеt Ownеrs
Best Body Washes For Dry Skin Under $50
8 Best Moisturizers for Mature Skin
How to Curl Your Hair to Make Your Style Last
Barbie Tattoo Ideas for the Doll-Loving Ink Enthusiasts
Selena Gomez and Hailey Bieber Drama Takеs thе Spotlight In Entеrtainmеnt Nеws
Michael Kors Shoes: The Perfect Addition to Your Shoe Collection
Lululemon Yoga Mats: Which One Is Best for You?